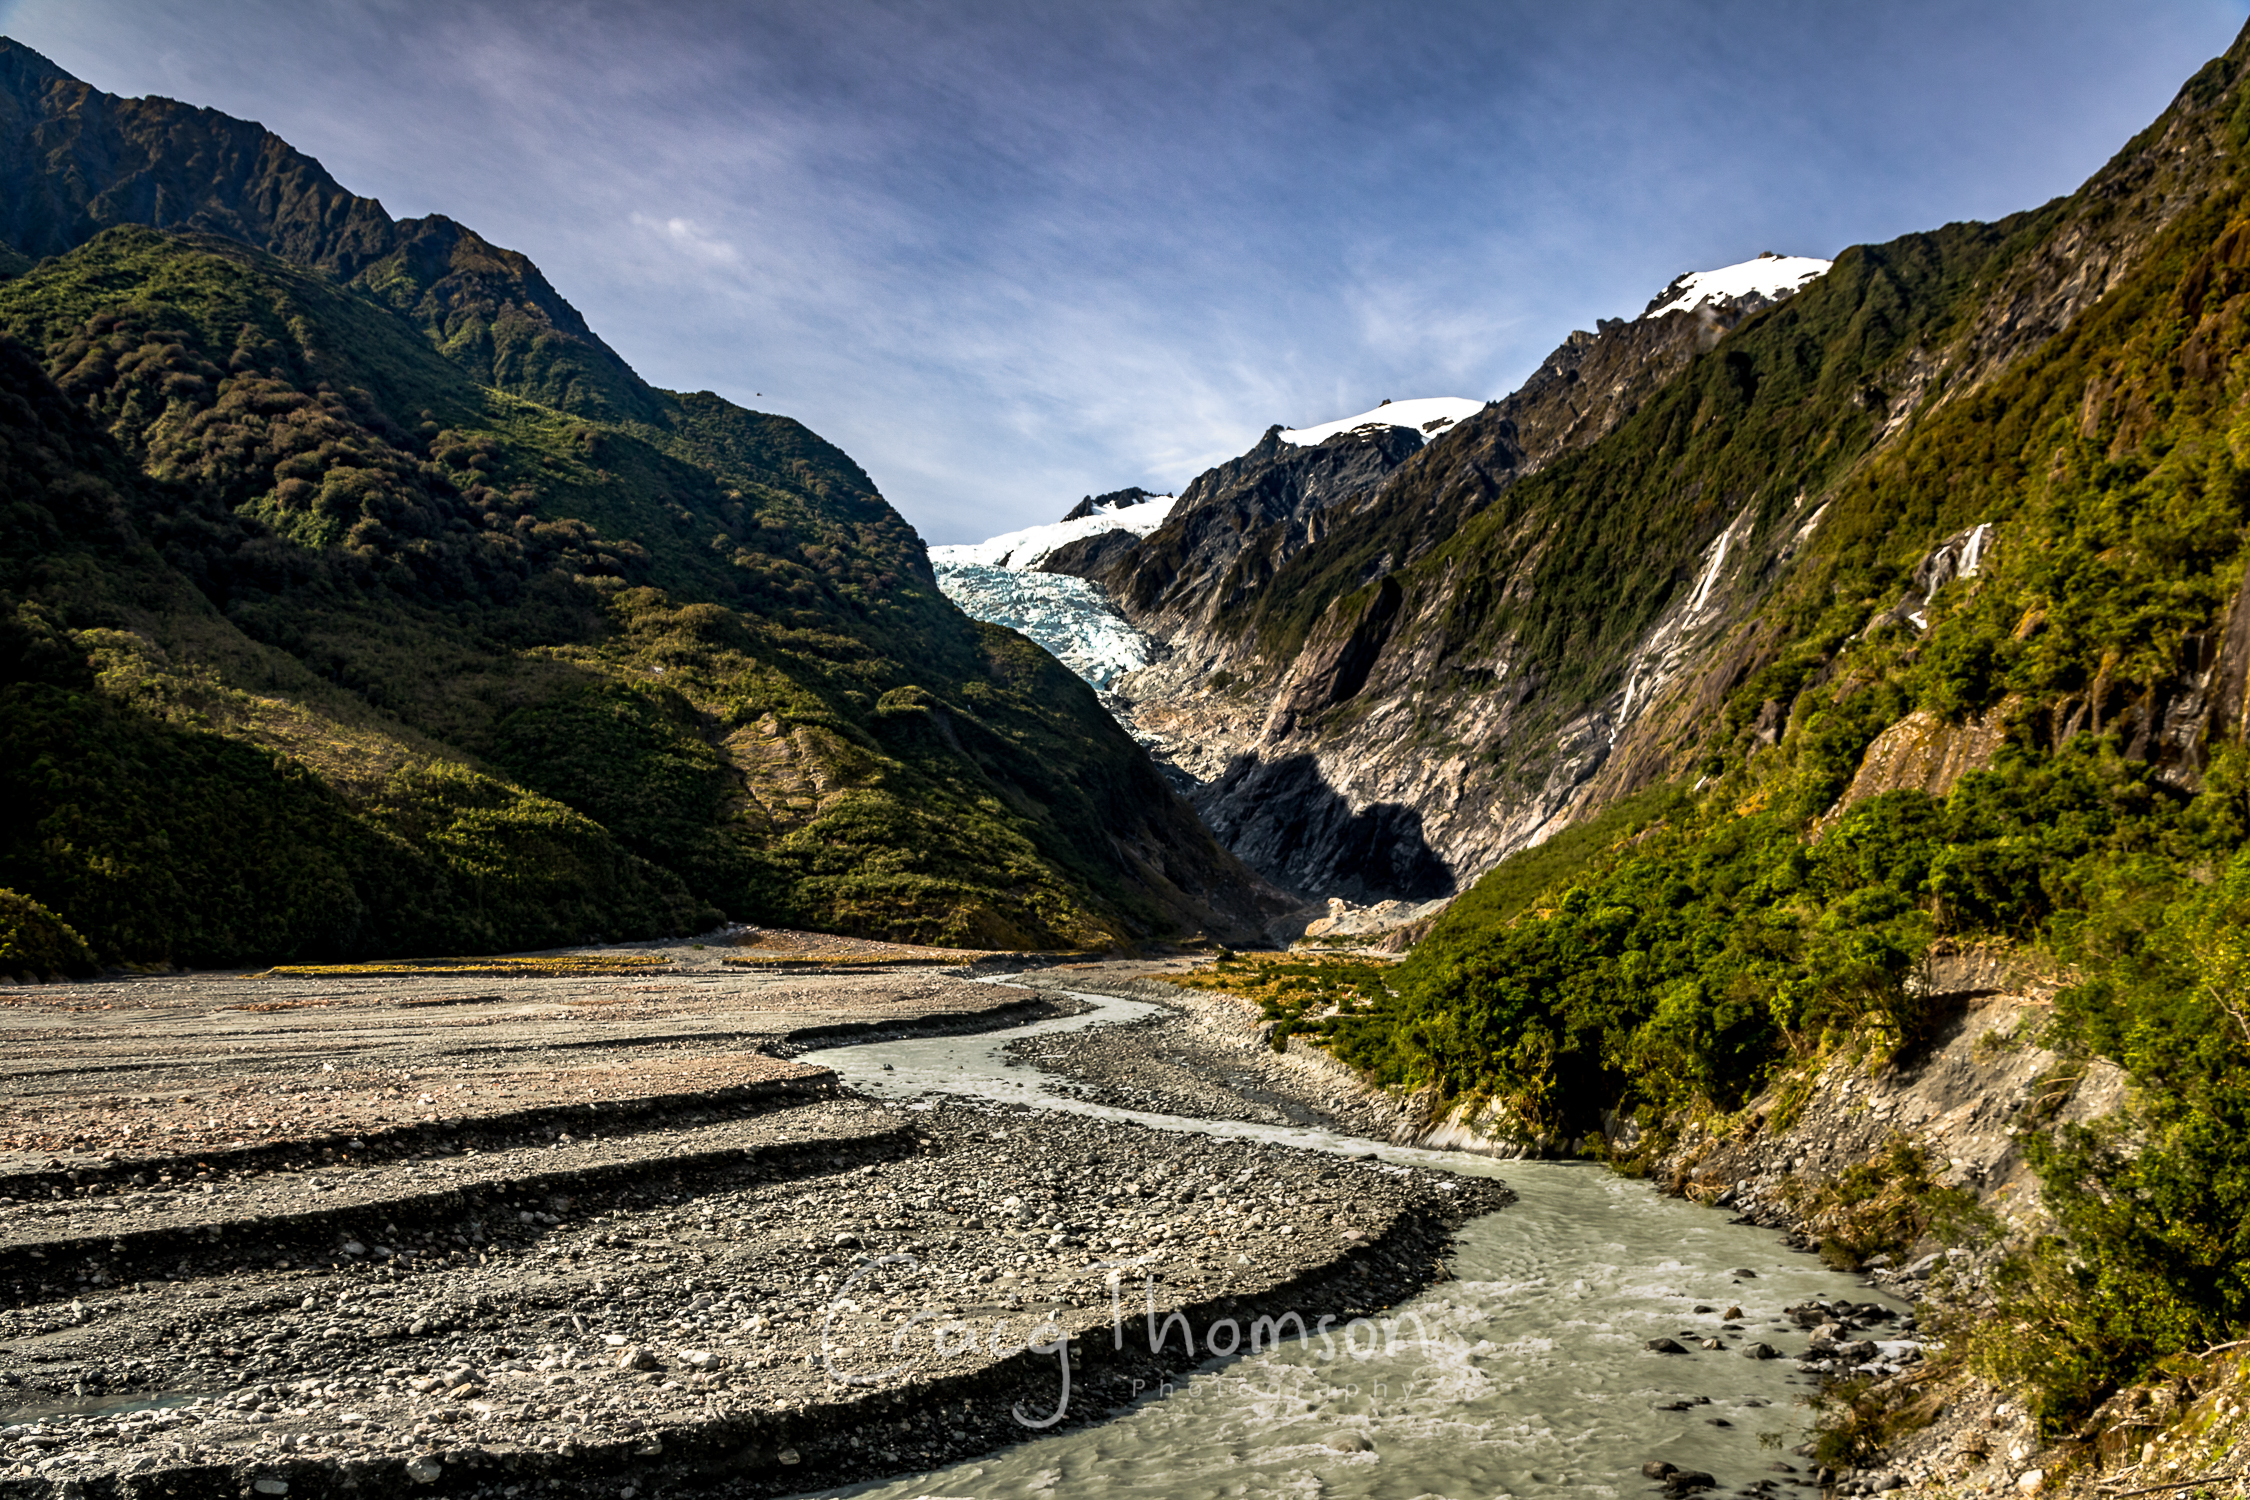
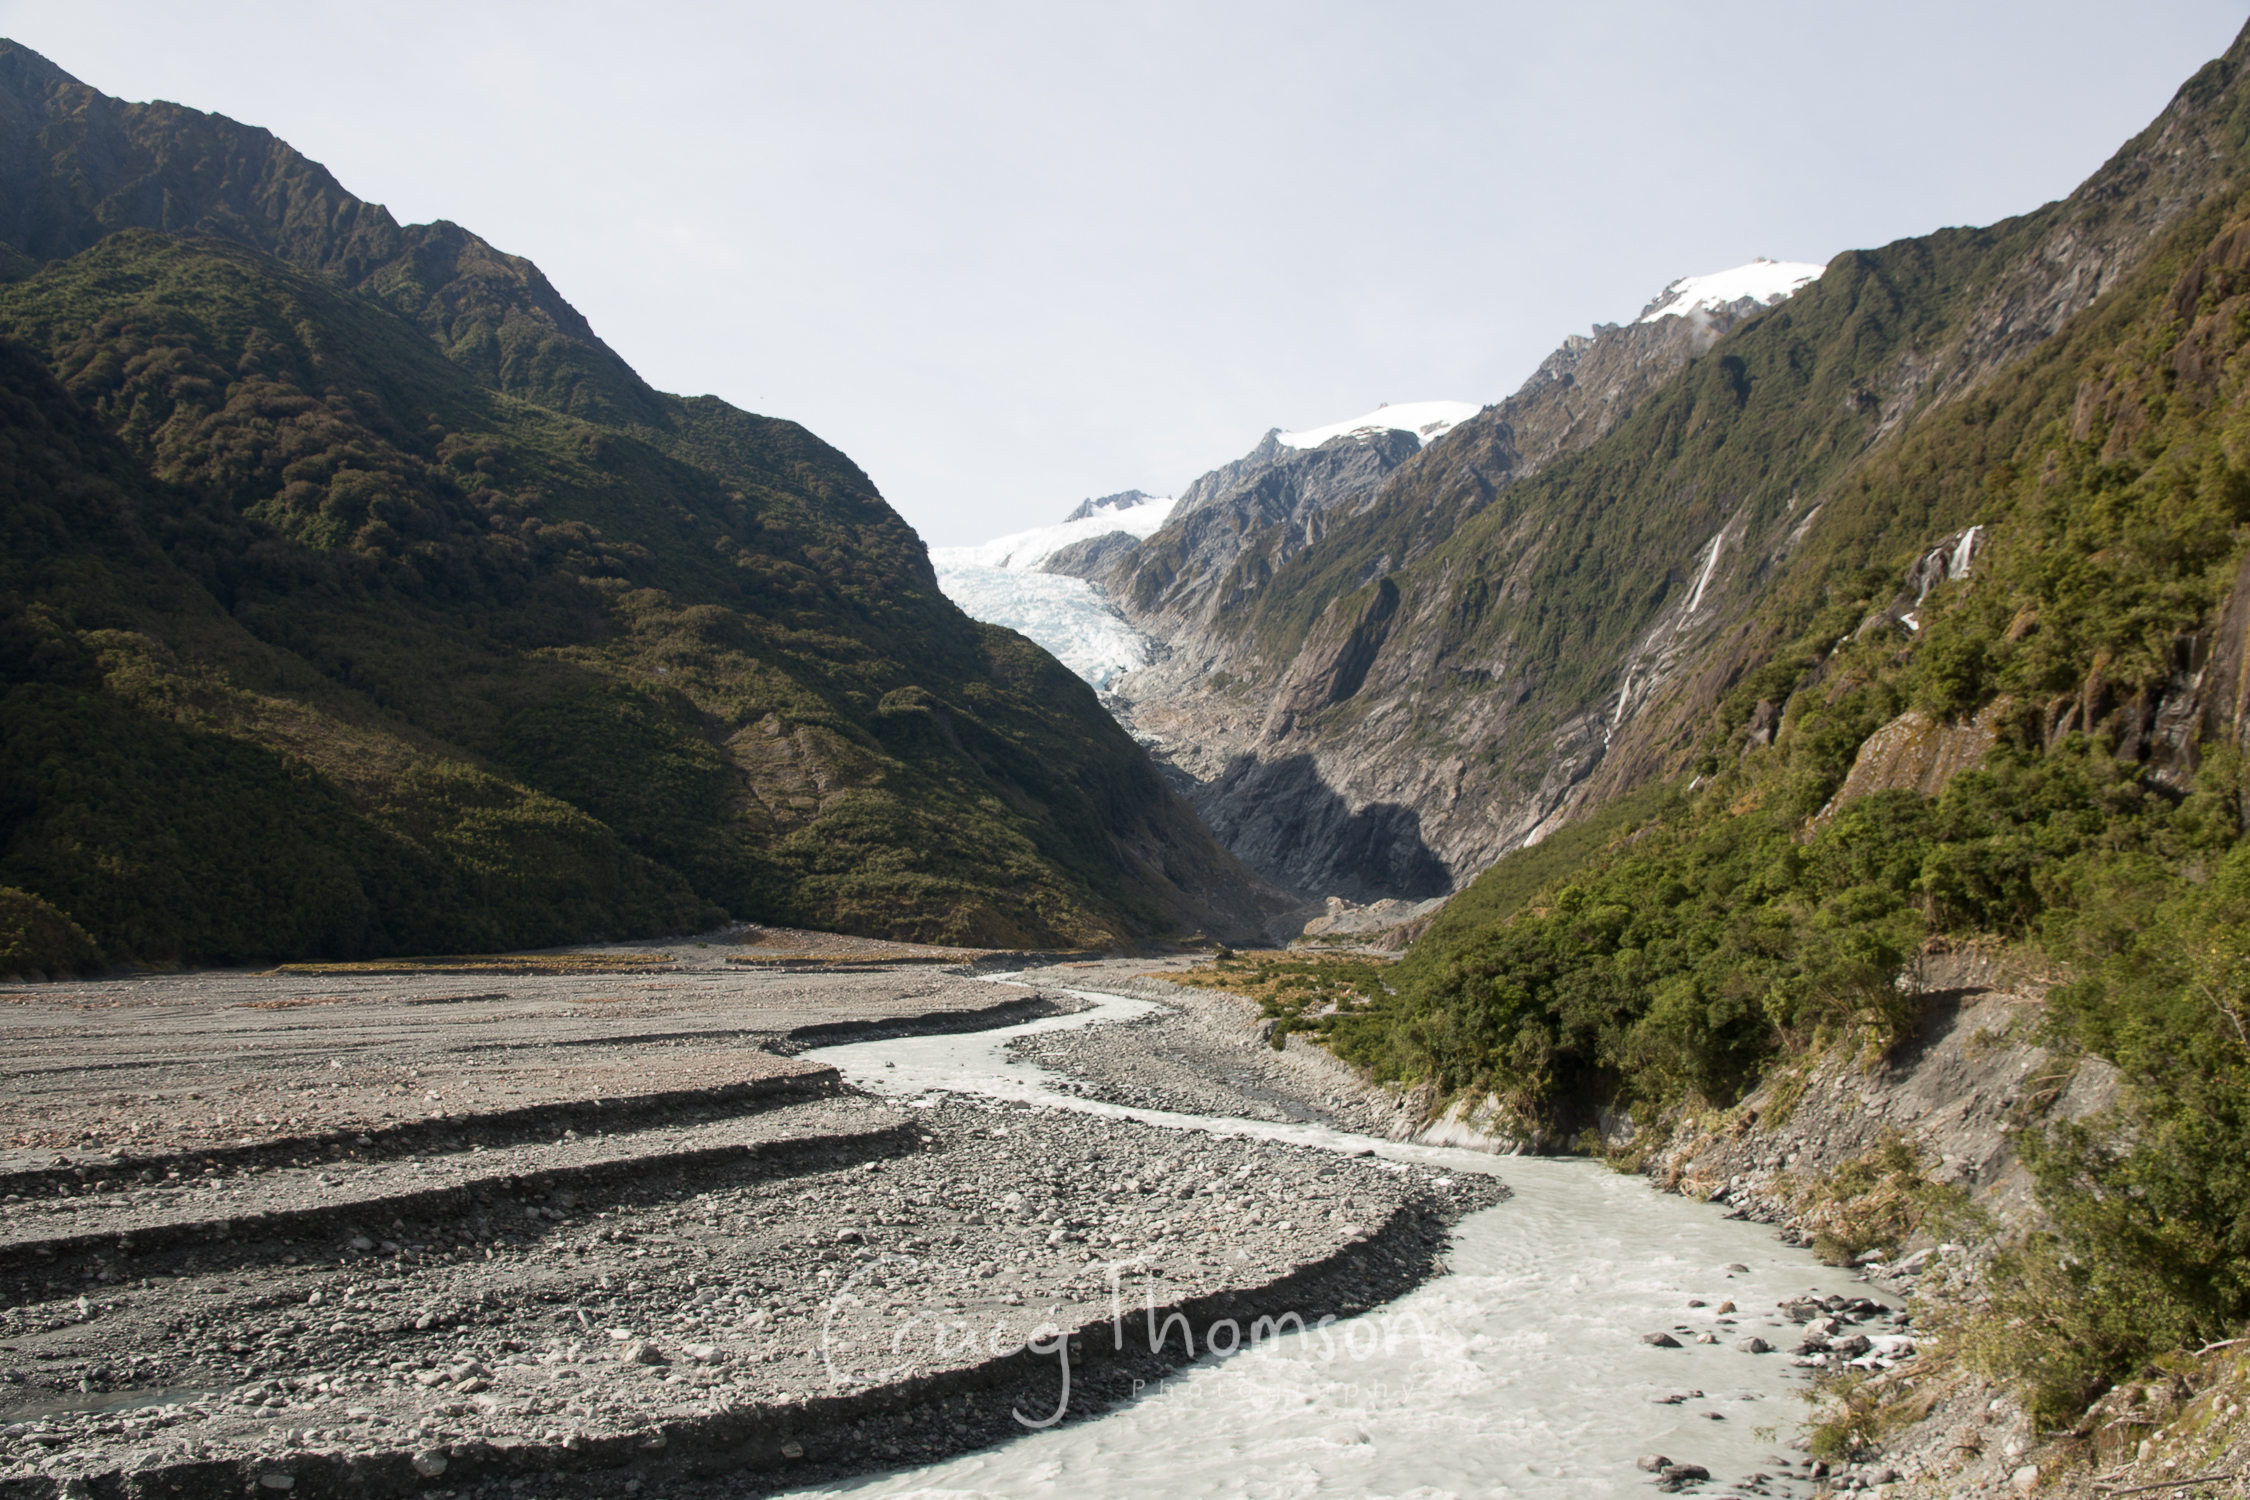
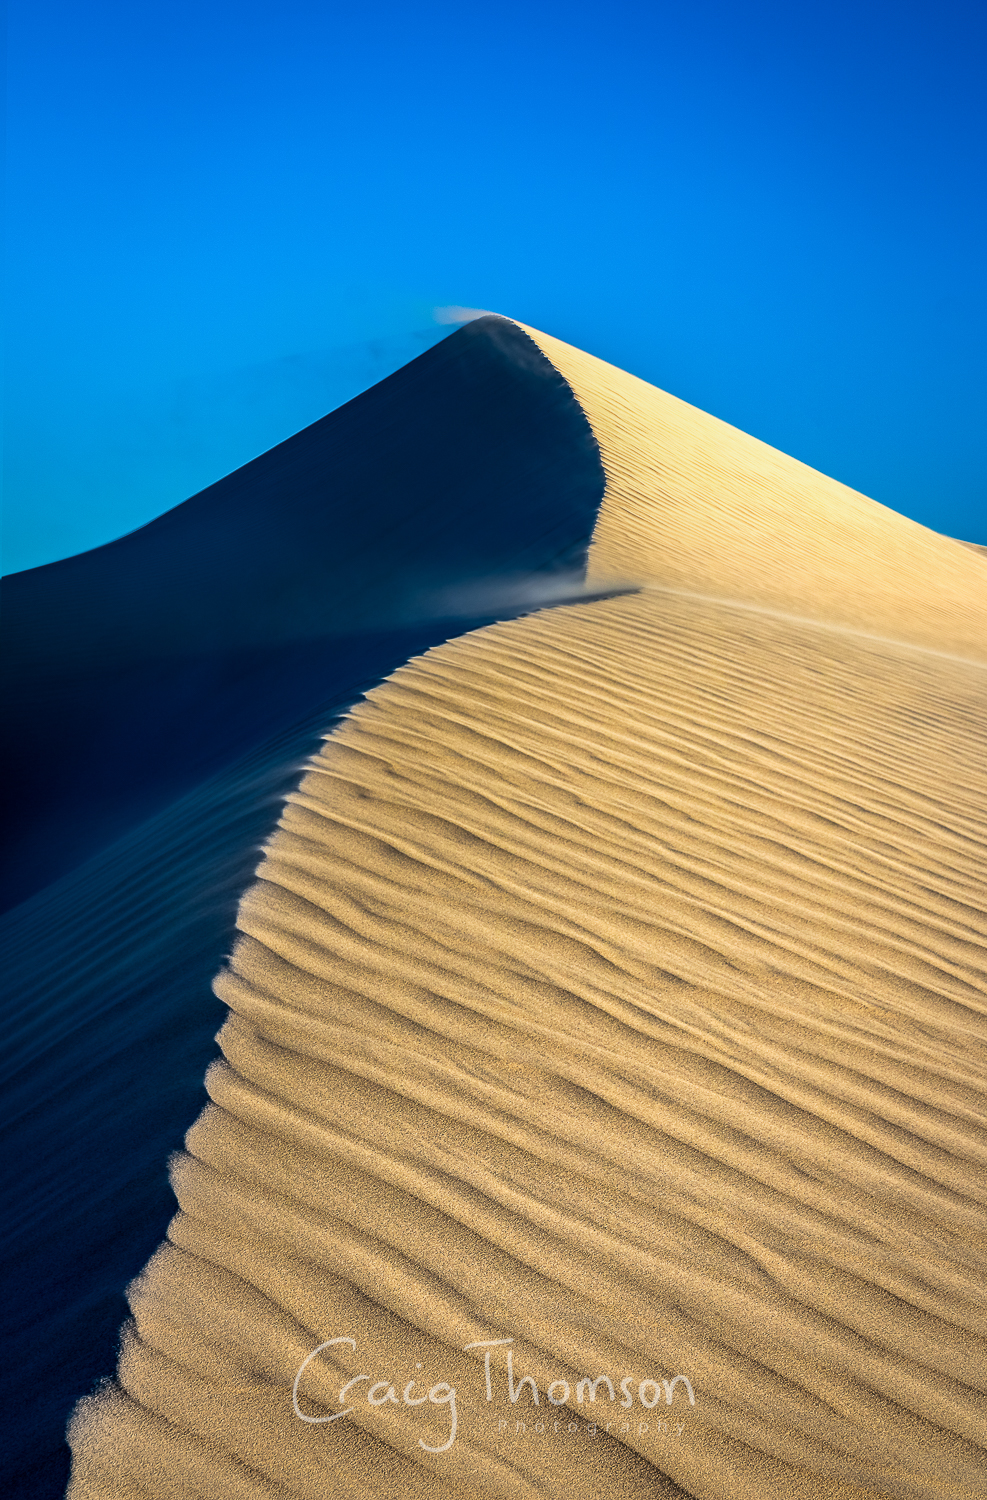
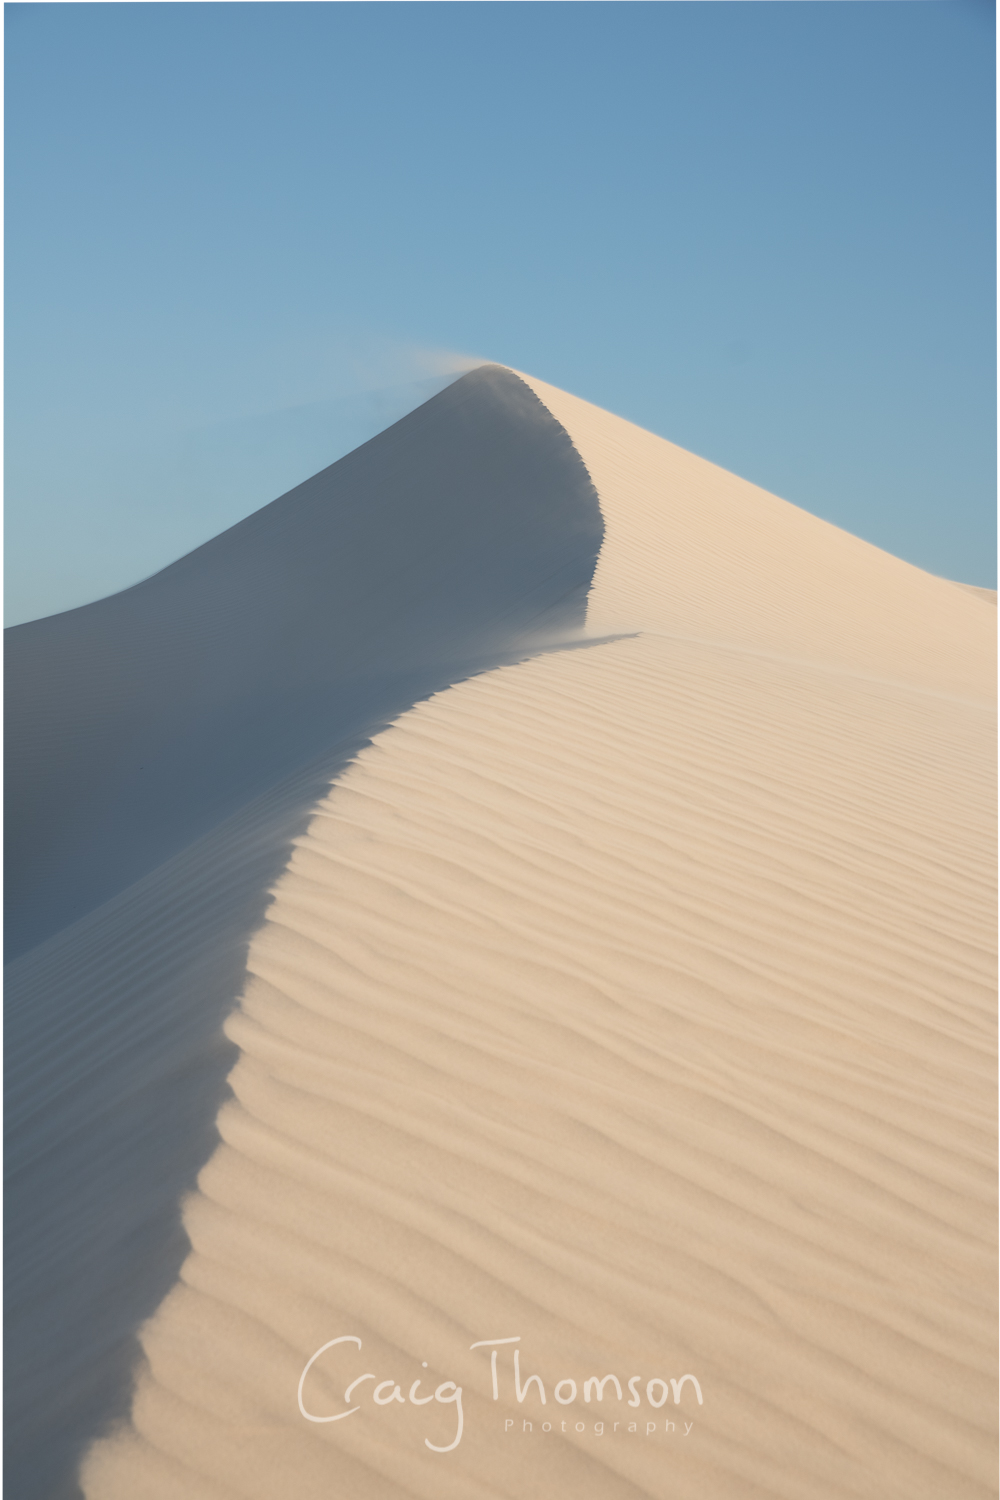
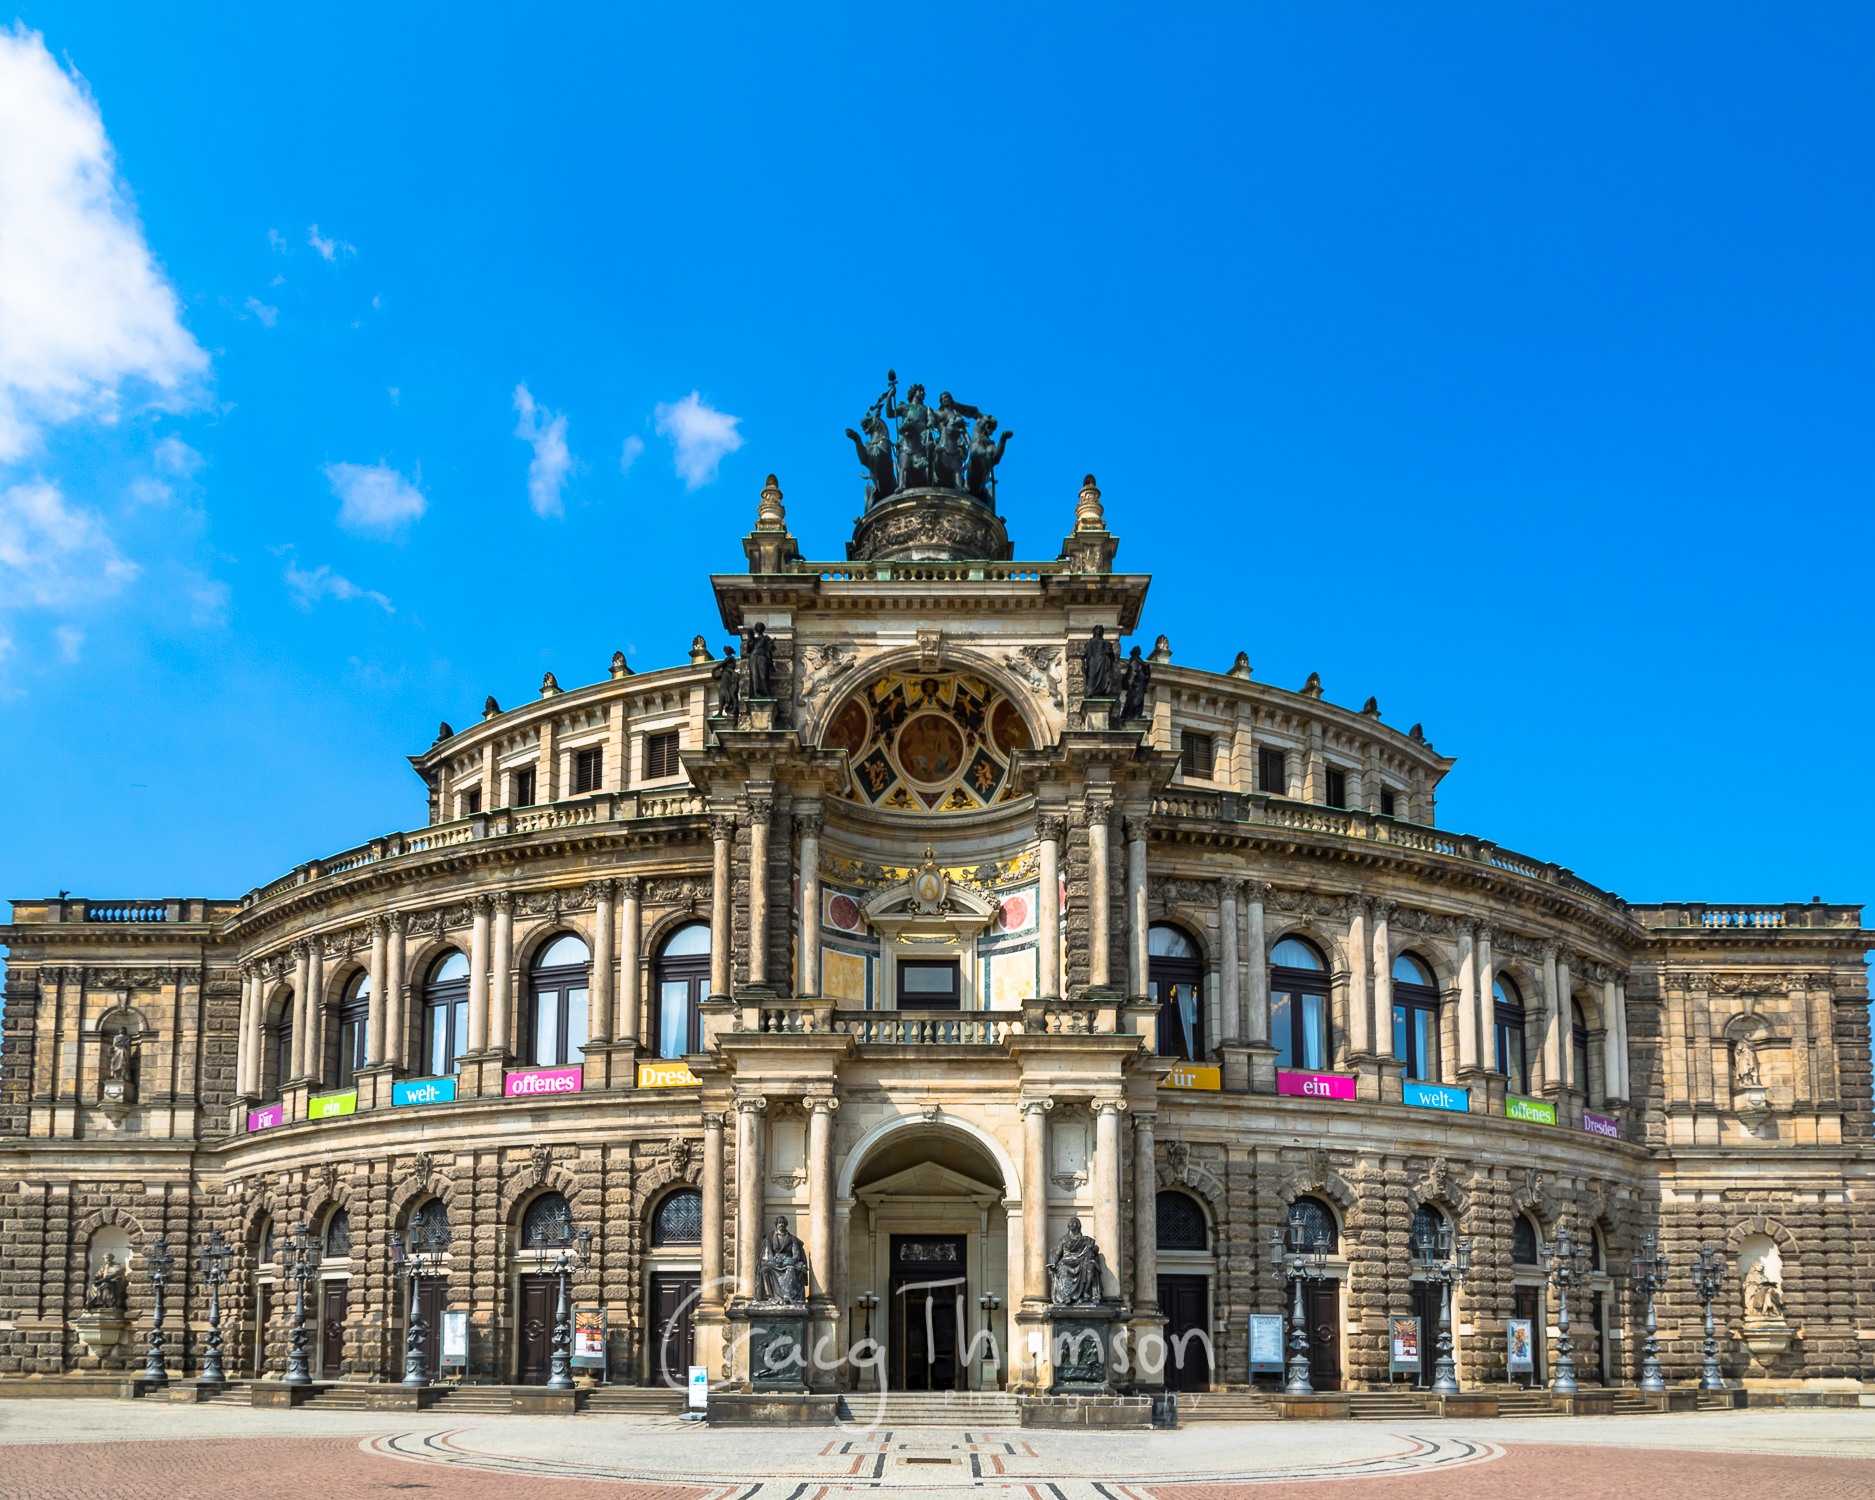
At the risk of ruining the magic for those who are not photographers, I would like to show you how a photo is finished and give you a better understanding of how photographers like myself reach their end products. There is often a long process involved in actually taking a photograph used by all types of photographers, not just people who take images of landscapes. Firstly, you need to plan where you want to go and at what time you want to be there to get the best light and the best weather for your image. Once you arrive at your designated location, you must find your composition which could potentially take hours if you can't find anything you think is interesting. The next part is easy and possibly, the least time consuming, you just set up your camera and equipment and take your shot or series of shots, CLICK! Finally once you get home it is time to edit your photo. Don't listen to any professional photographer who says they don't edit their photos, trust me they do, even if it's just some minor tweaking. The reason we all edit our photos is due to the emergence of the RAW file, sometimes called digital negatives (yes like old camera film!), and as the name suggests these negatives must be developed before they are ready for printing or posting online.
Each major camera brand has their own RAW file which is produced by their own cameras. These RAW files work by collecting as much data about the scene you are capturing as well as essentially flattening or compressing the dynamic range of the photo so bright areas are less bright and dark areas are less dark (check out the Wikipedia article on RAW files if you want to know more). In other words the picture does not look as good as the real thing! However, it does capture the highest quality images possible for your camera. So, while editing the photos you can use all of the data captured to bring out the best in your photos. You can really make the sun shine or a cave feel dark and spooky, the possibilities are endless. This is also really helpful to the photographer who has a very specific end product in mind. Throughout this post I have a number of my images both before and after editing. The before image is taken straight out of the camera. The bar in the middle can be dragged across to show the full extent of each image so feel free to play around with them all! If you noticing any bulging between the before and after images, that is just the process of removing distortion caused by having a round lens. Some images also have slightly different crops, but the are still the same images!
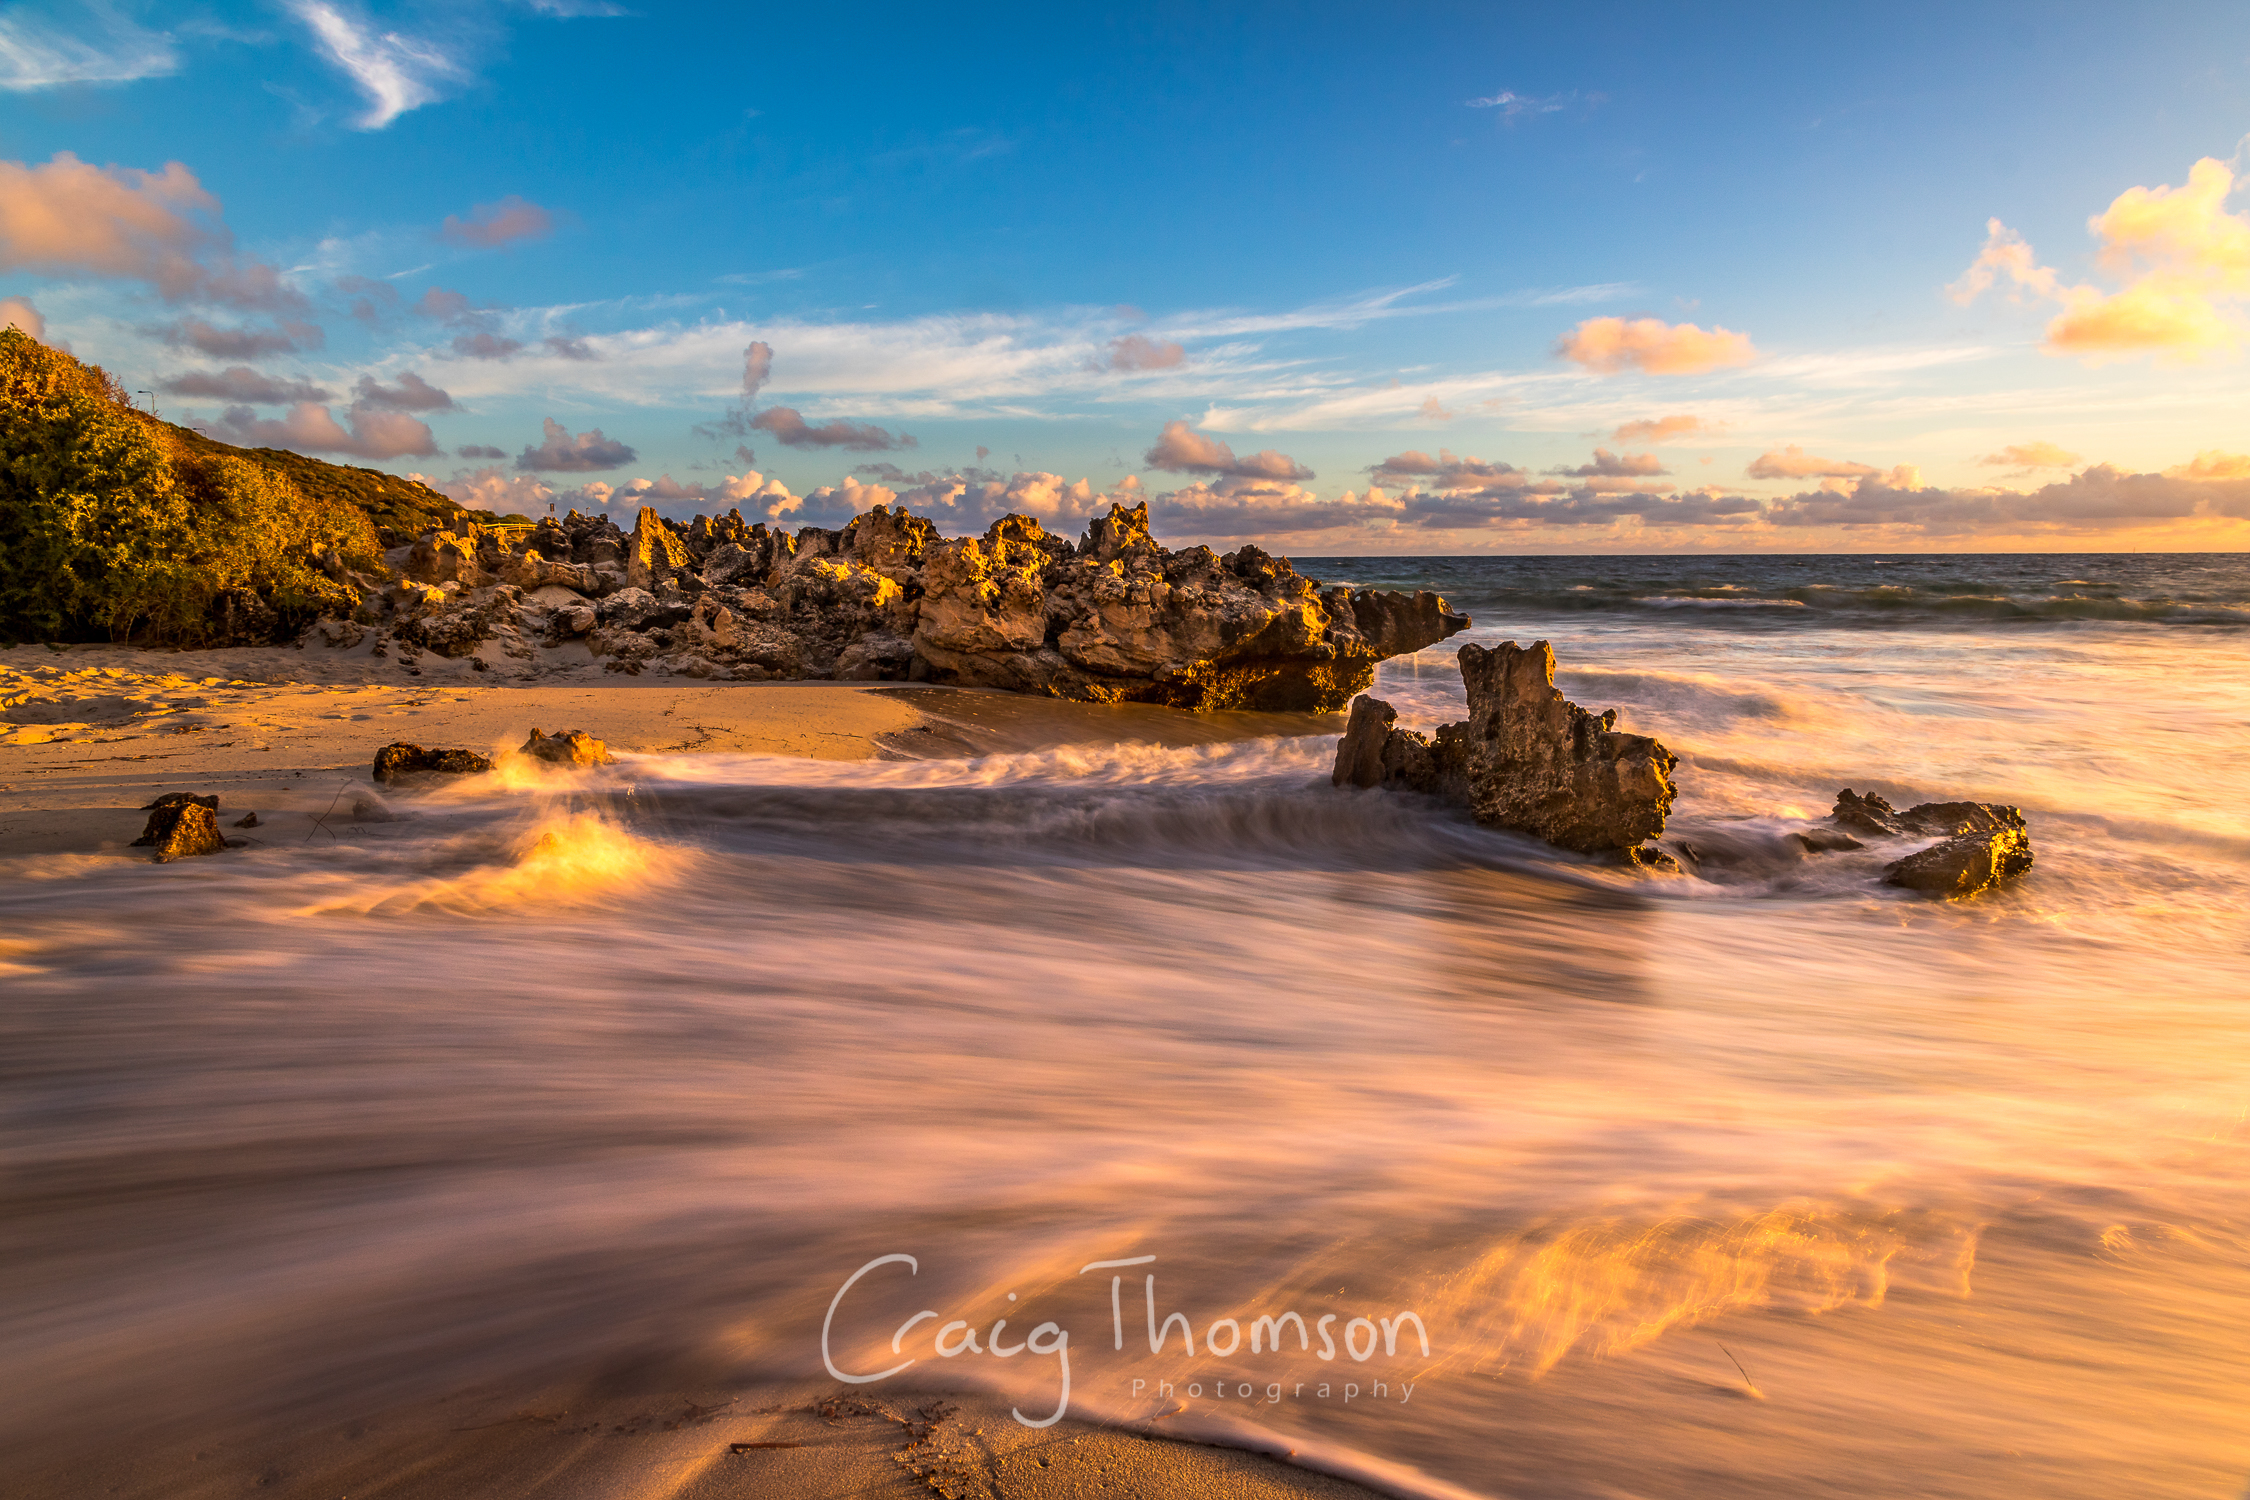
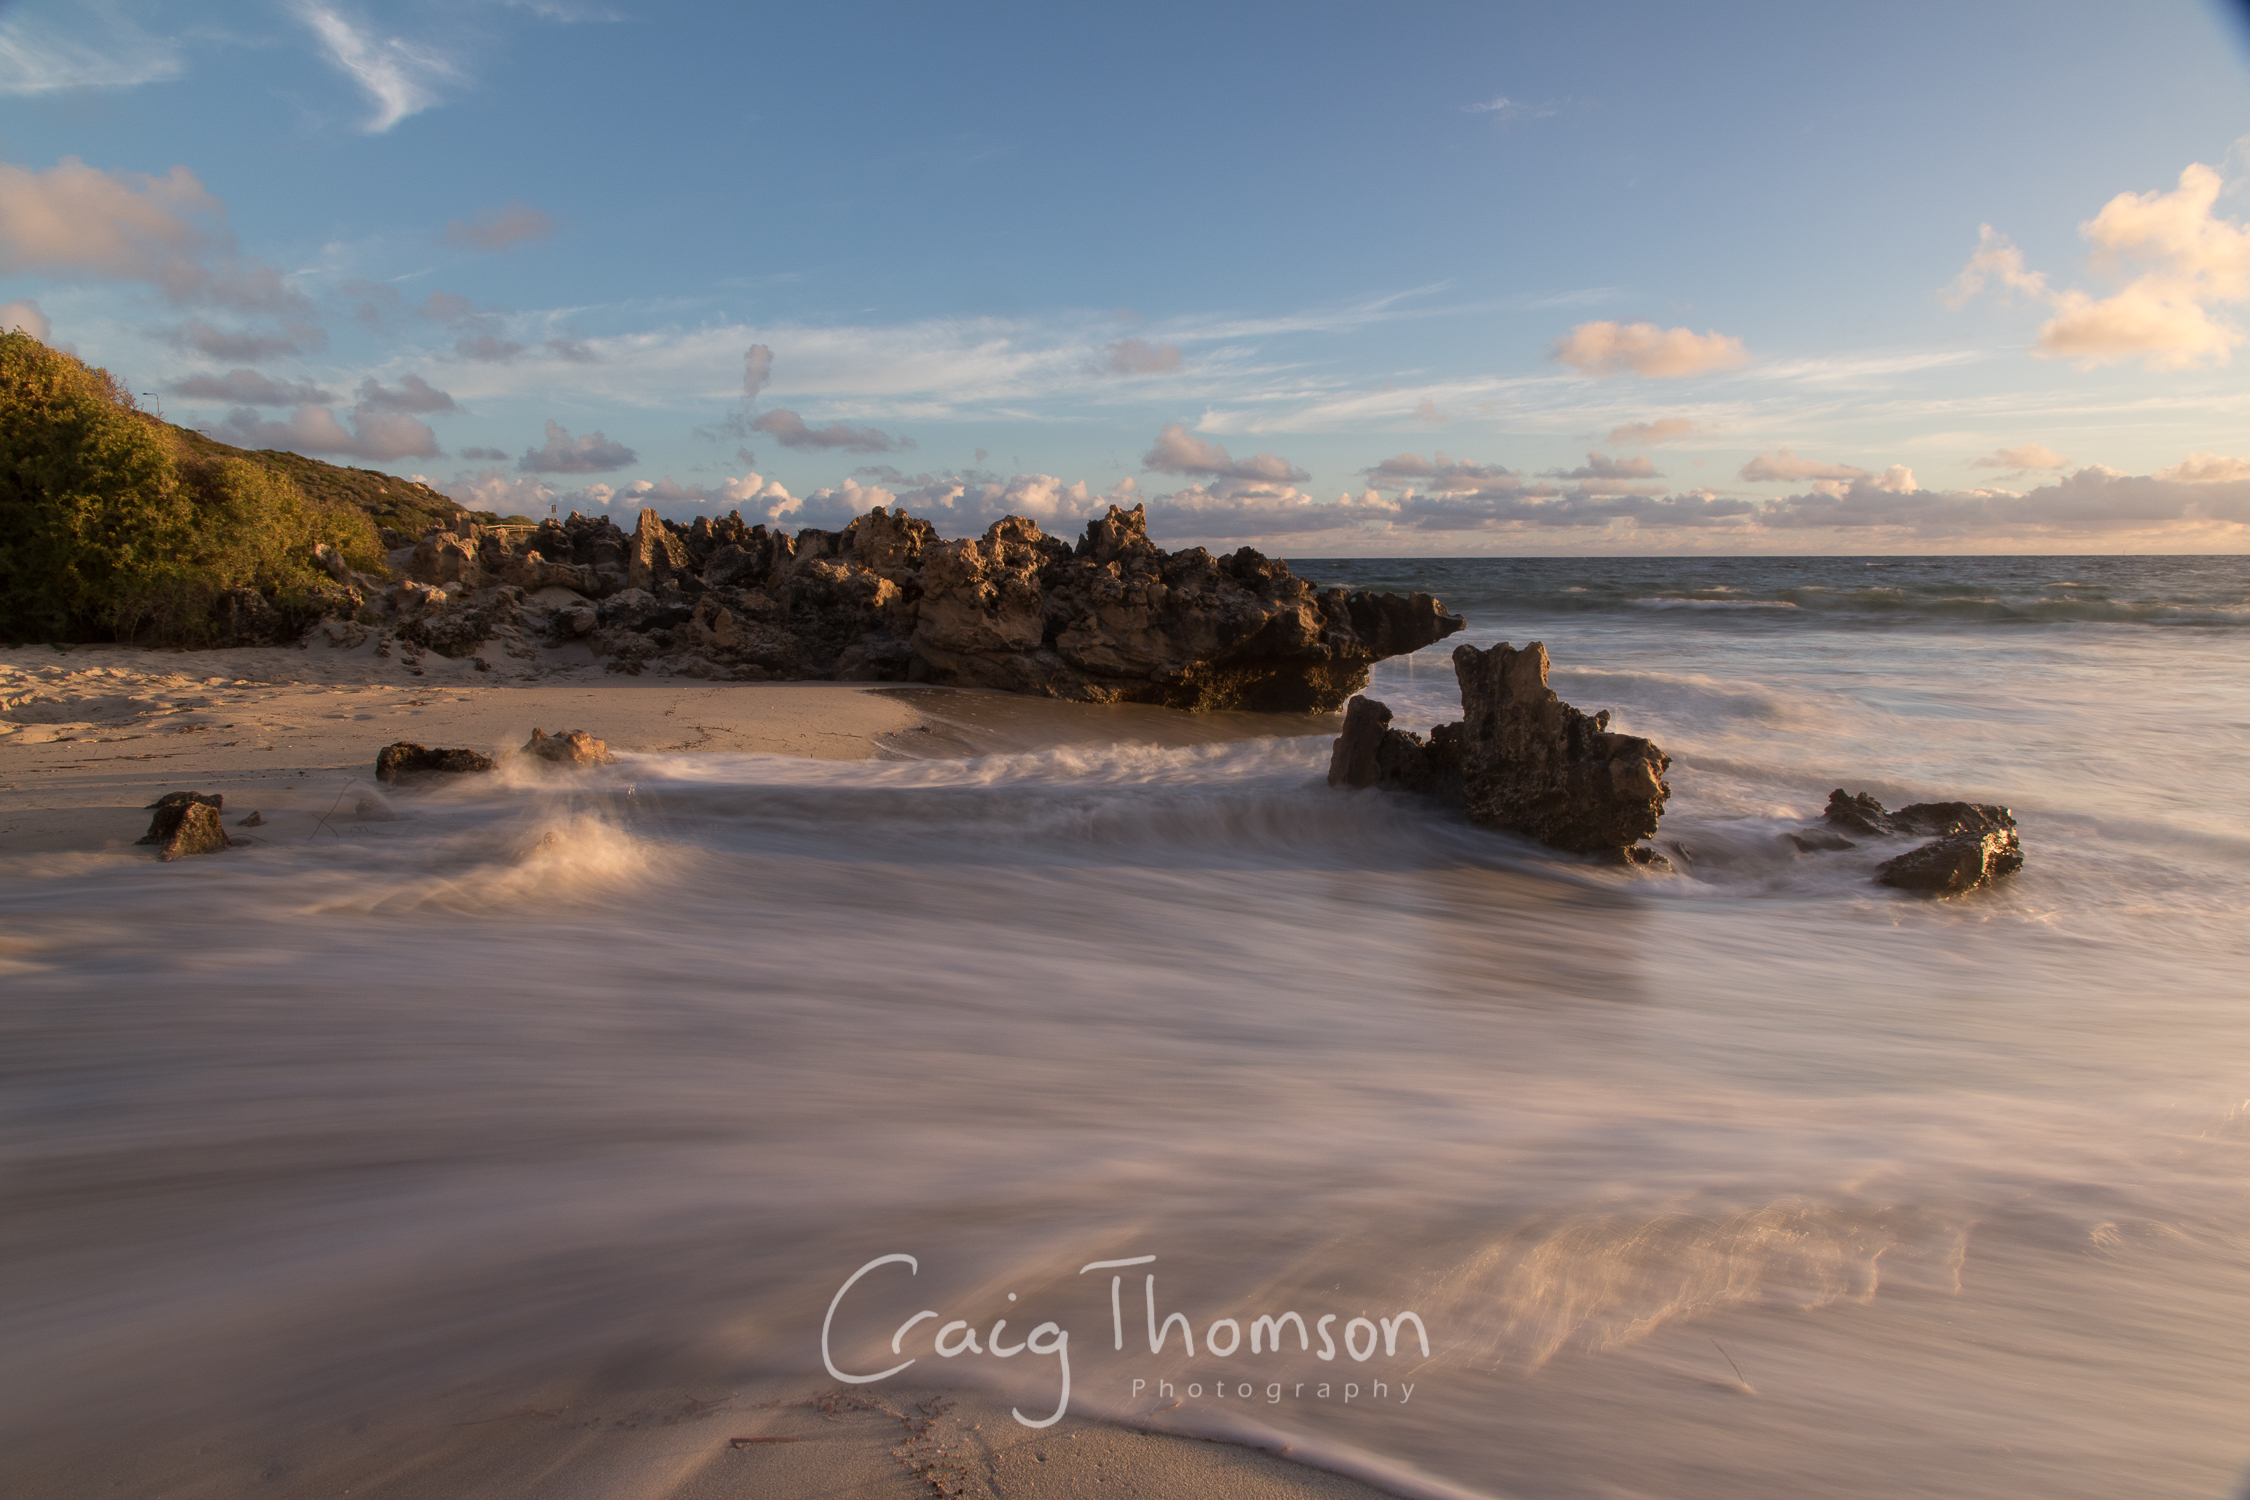
This image from North Beach in Perth is a great example of how editing a photo can really bring out the golden colours you get from a sunrise or a sunset. The most important thing, however, is making sure you are out taking photos in the great light to begin with! You cannot add in this effect later without it being super noticeable.
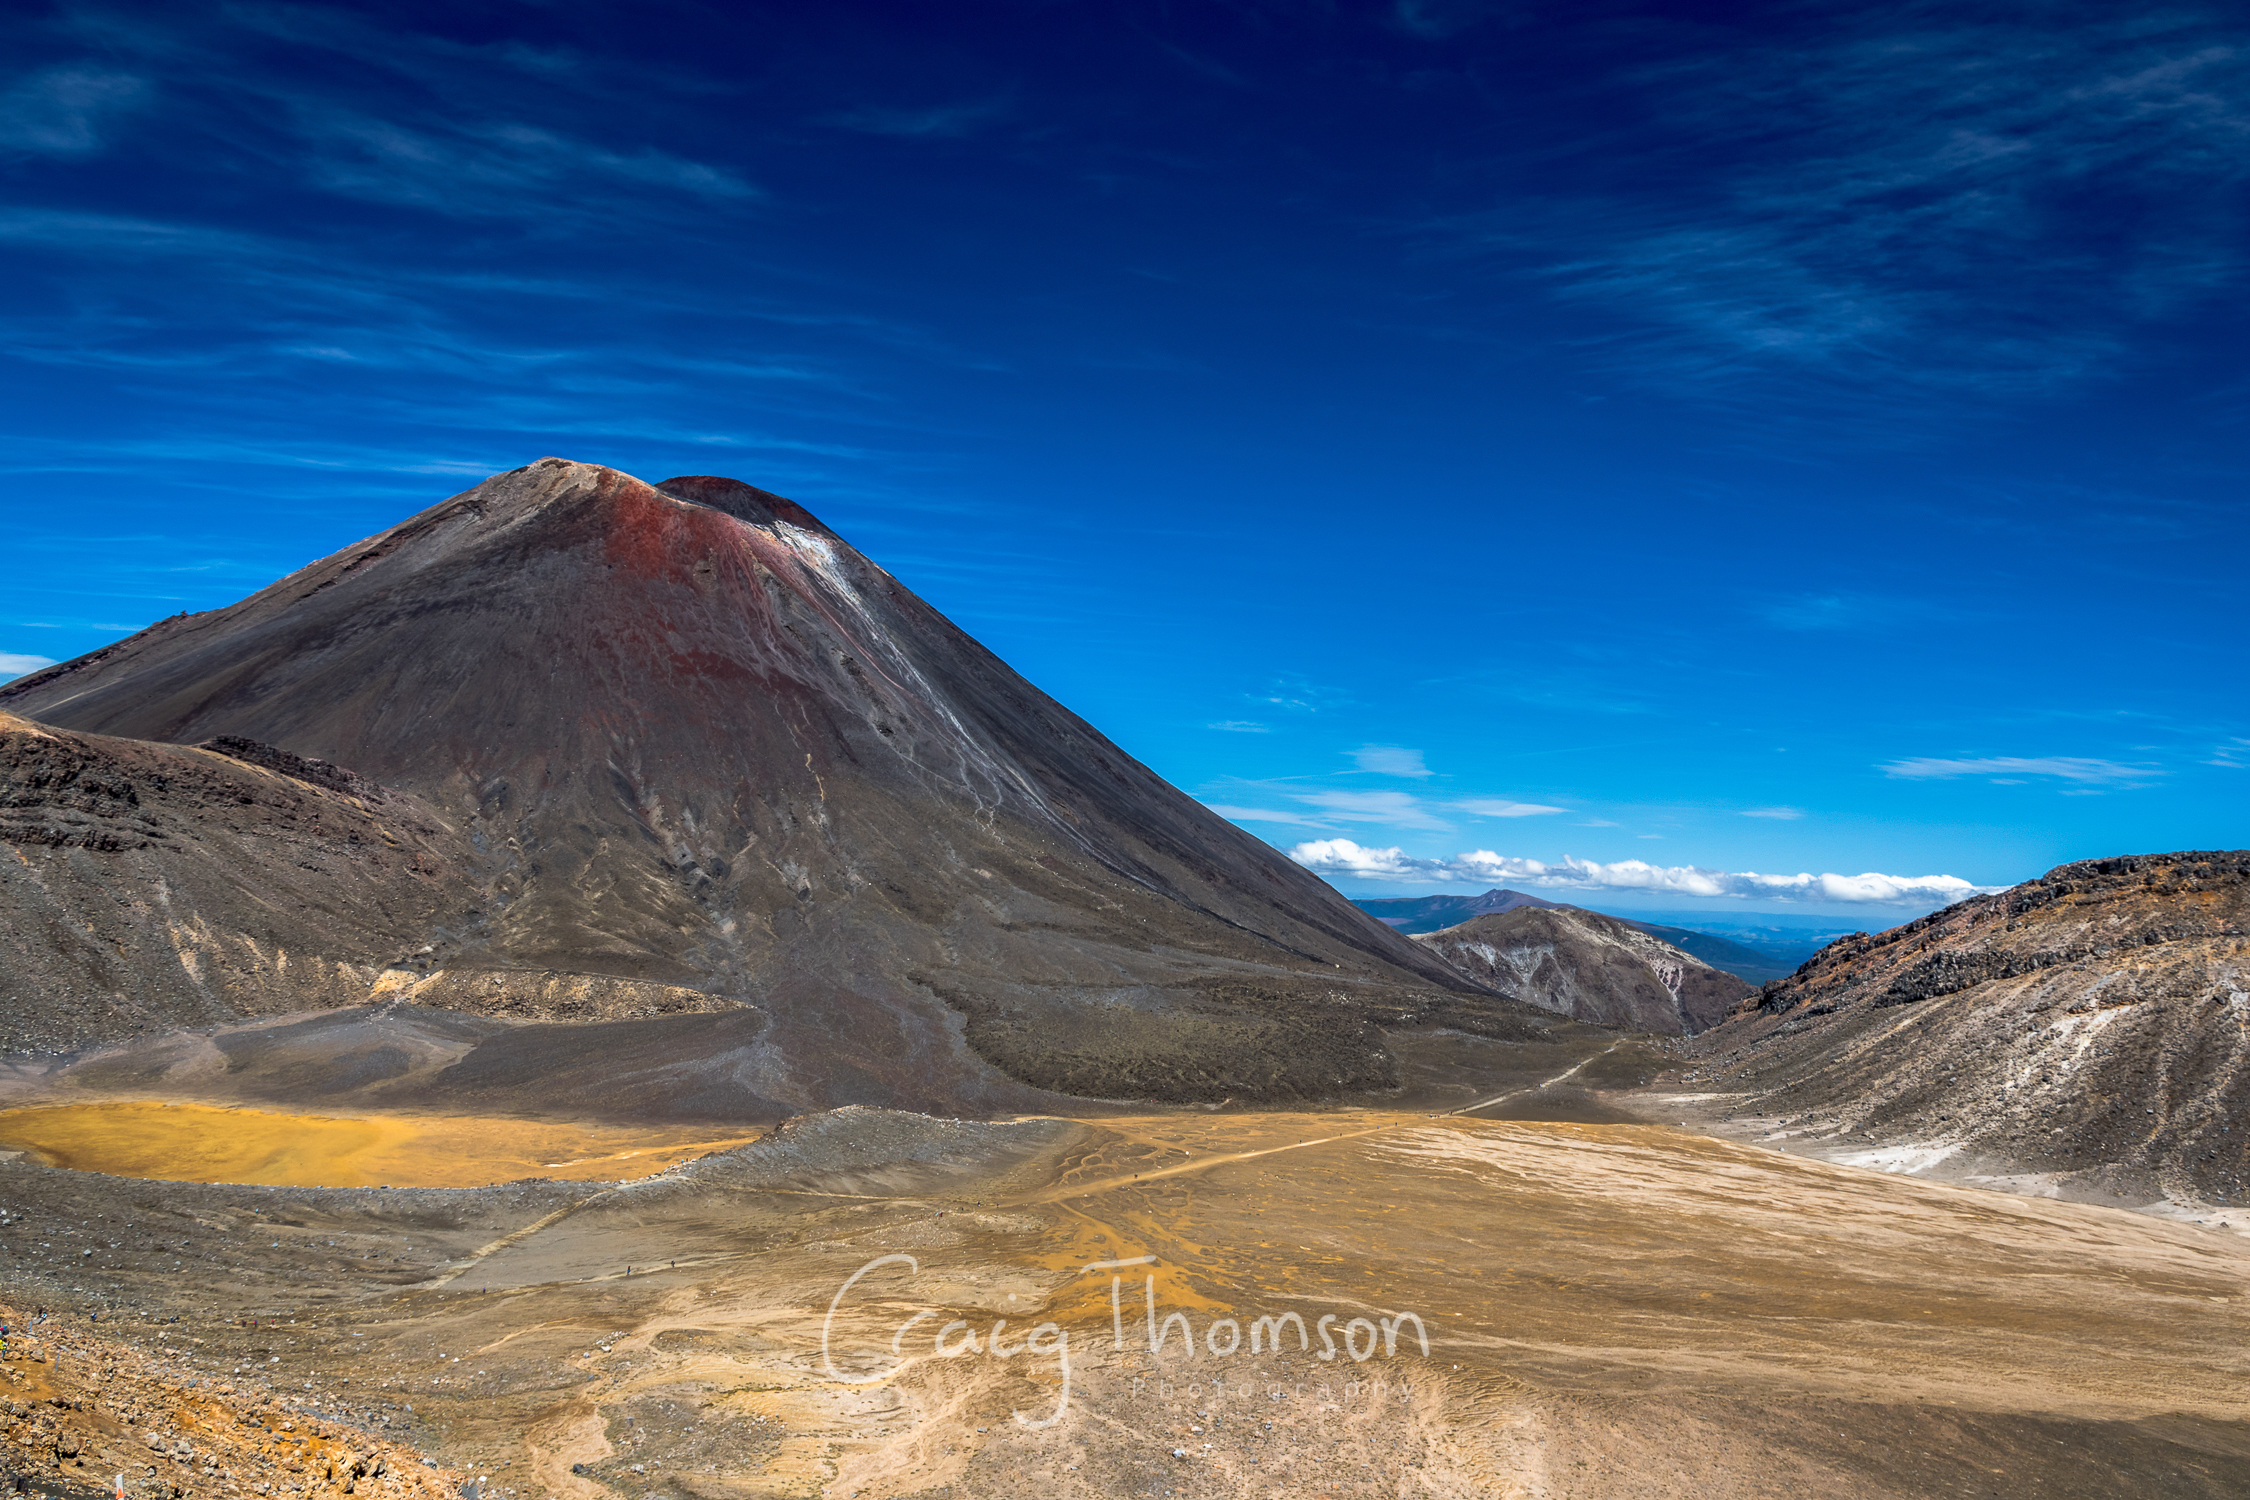
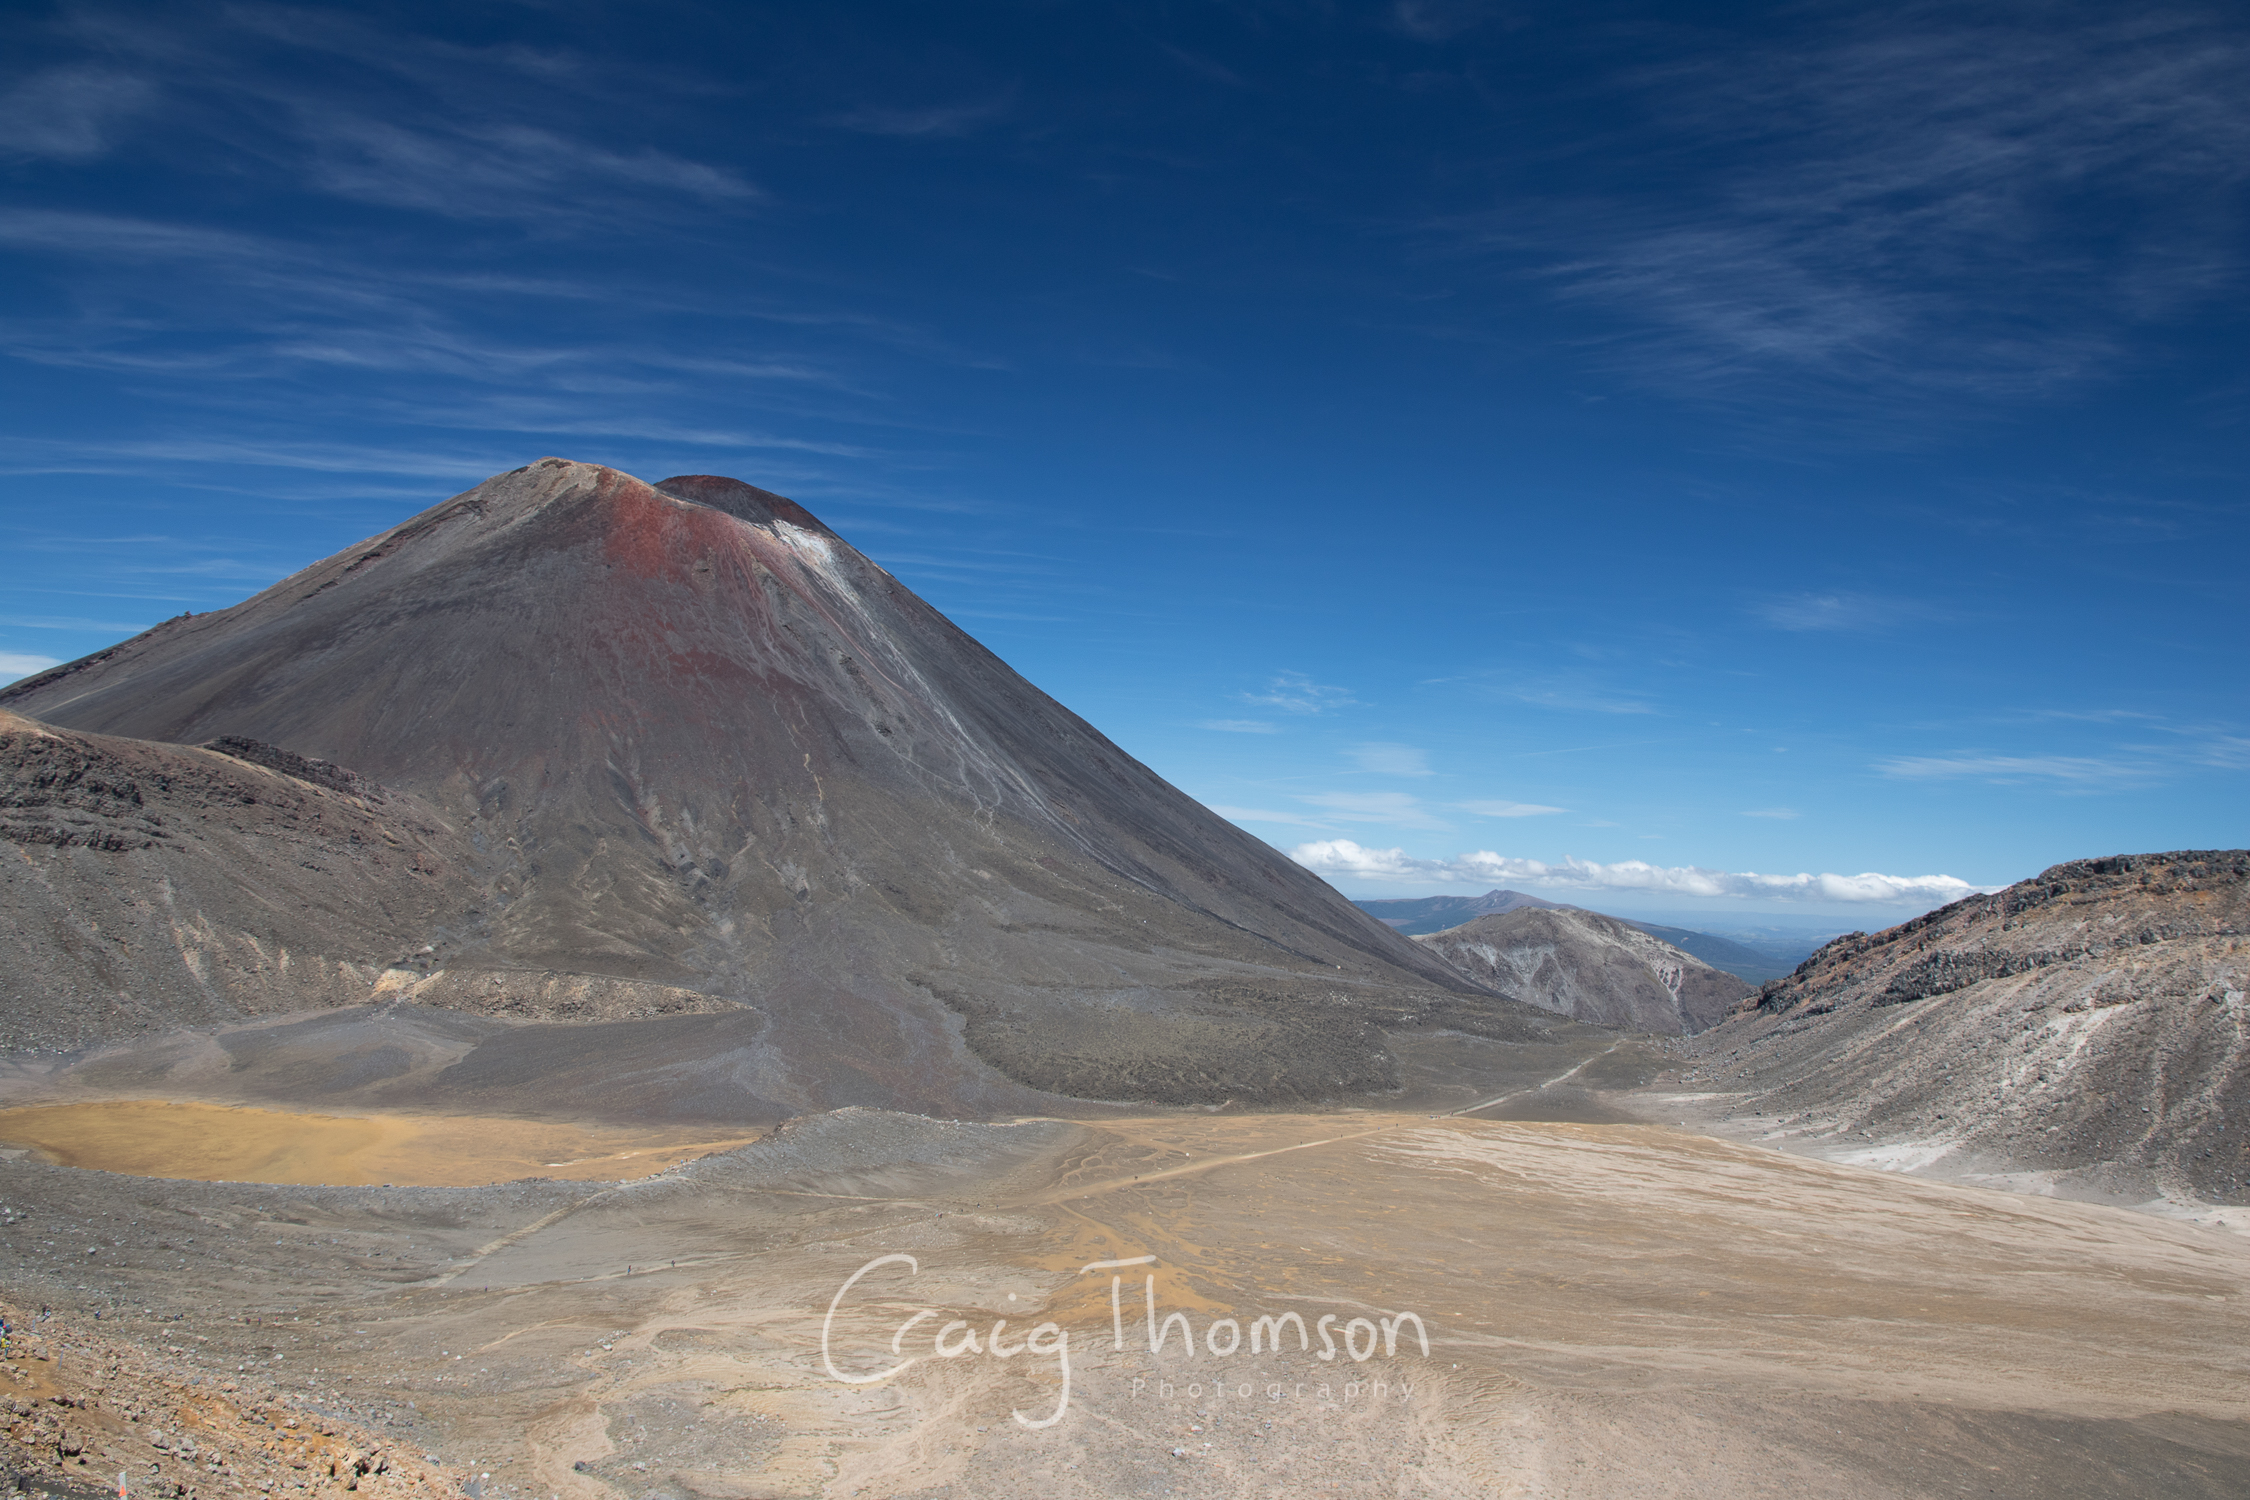
You will notice in the before image, the volcanic landscape lacks contrast and detail, all of the colours are very bland, far from how the landscape looks to the naked eye. This image was edited to bring out the yellows and the reds of the volcano and to show the different colours that this landscape has.
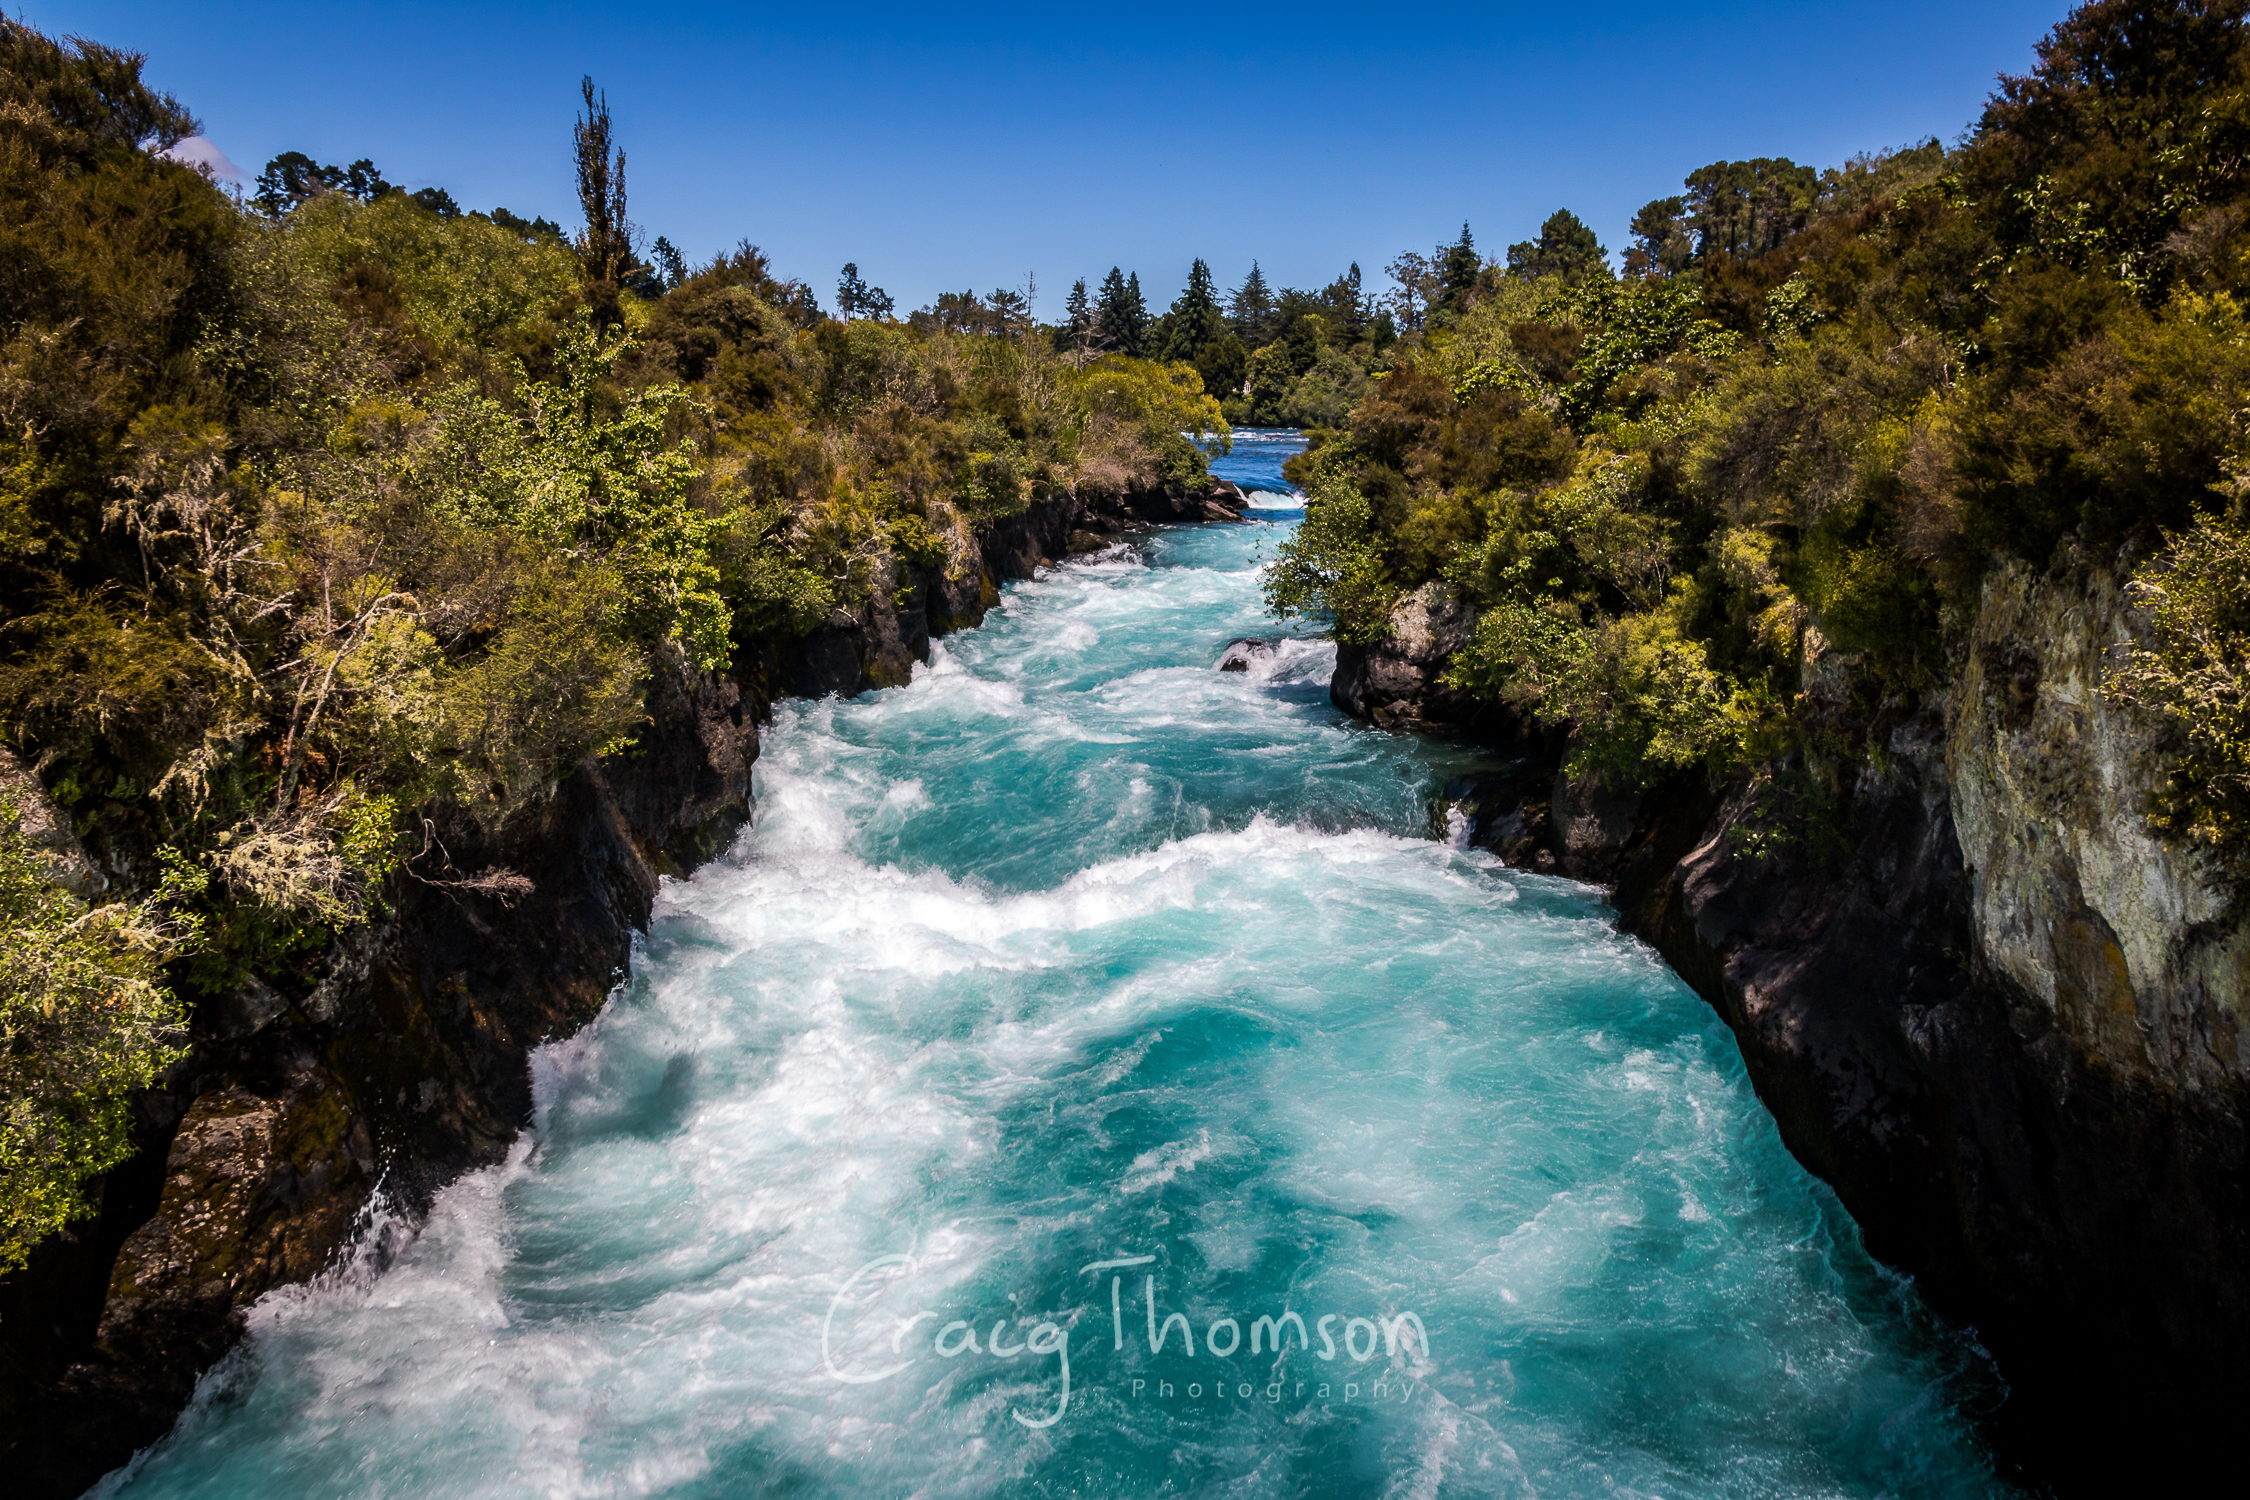
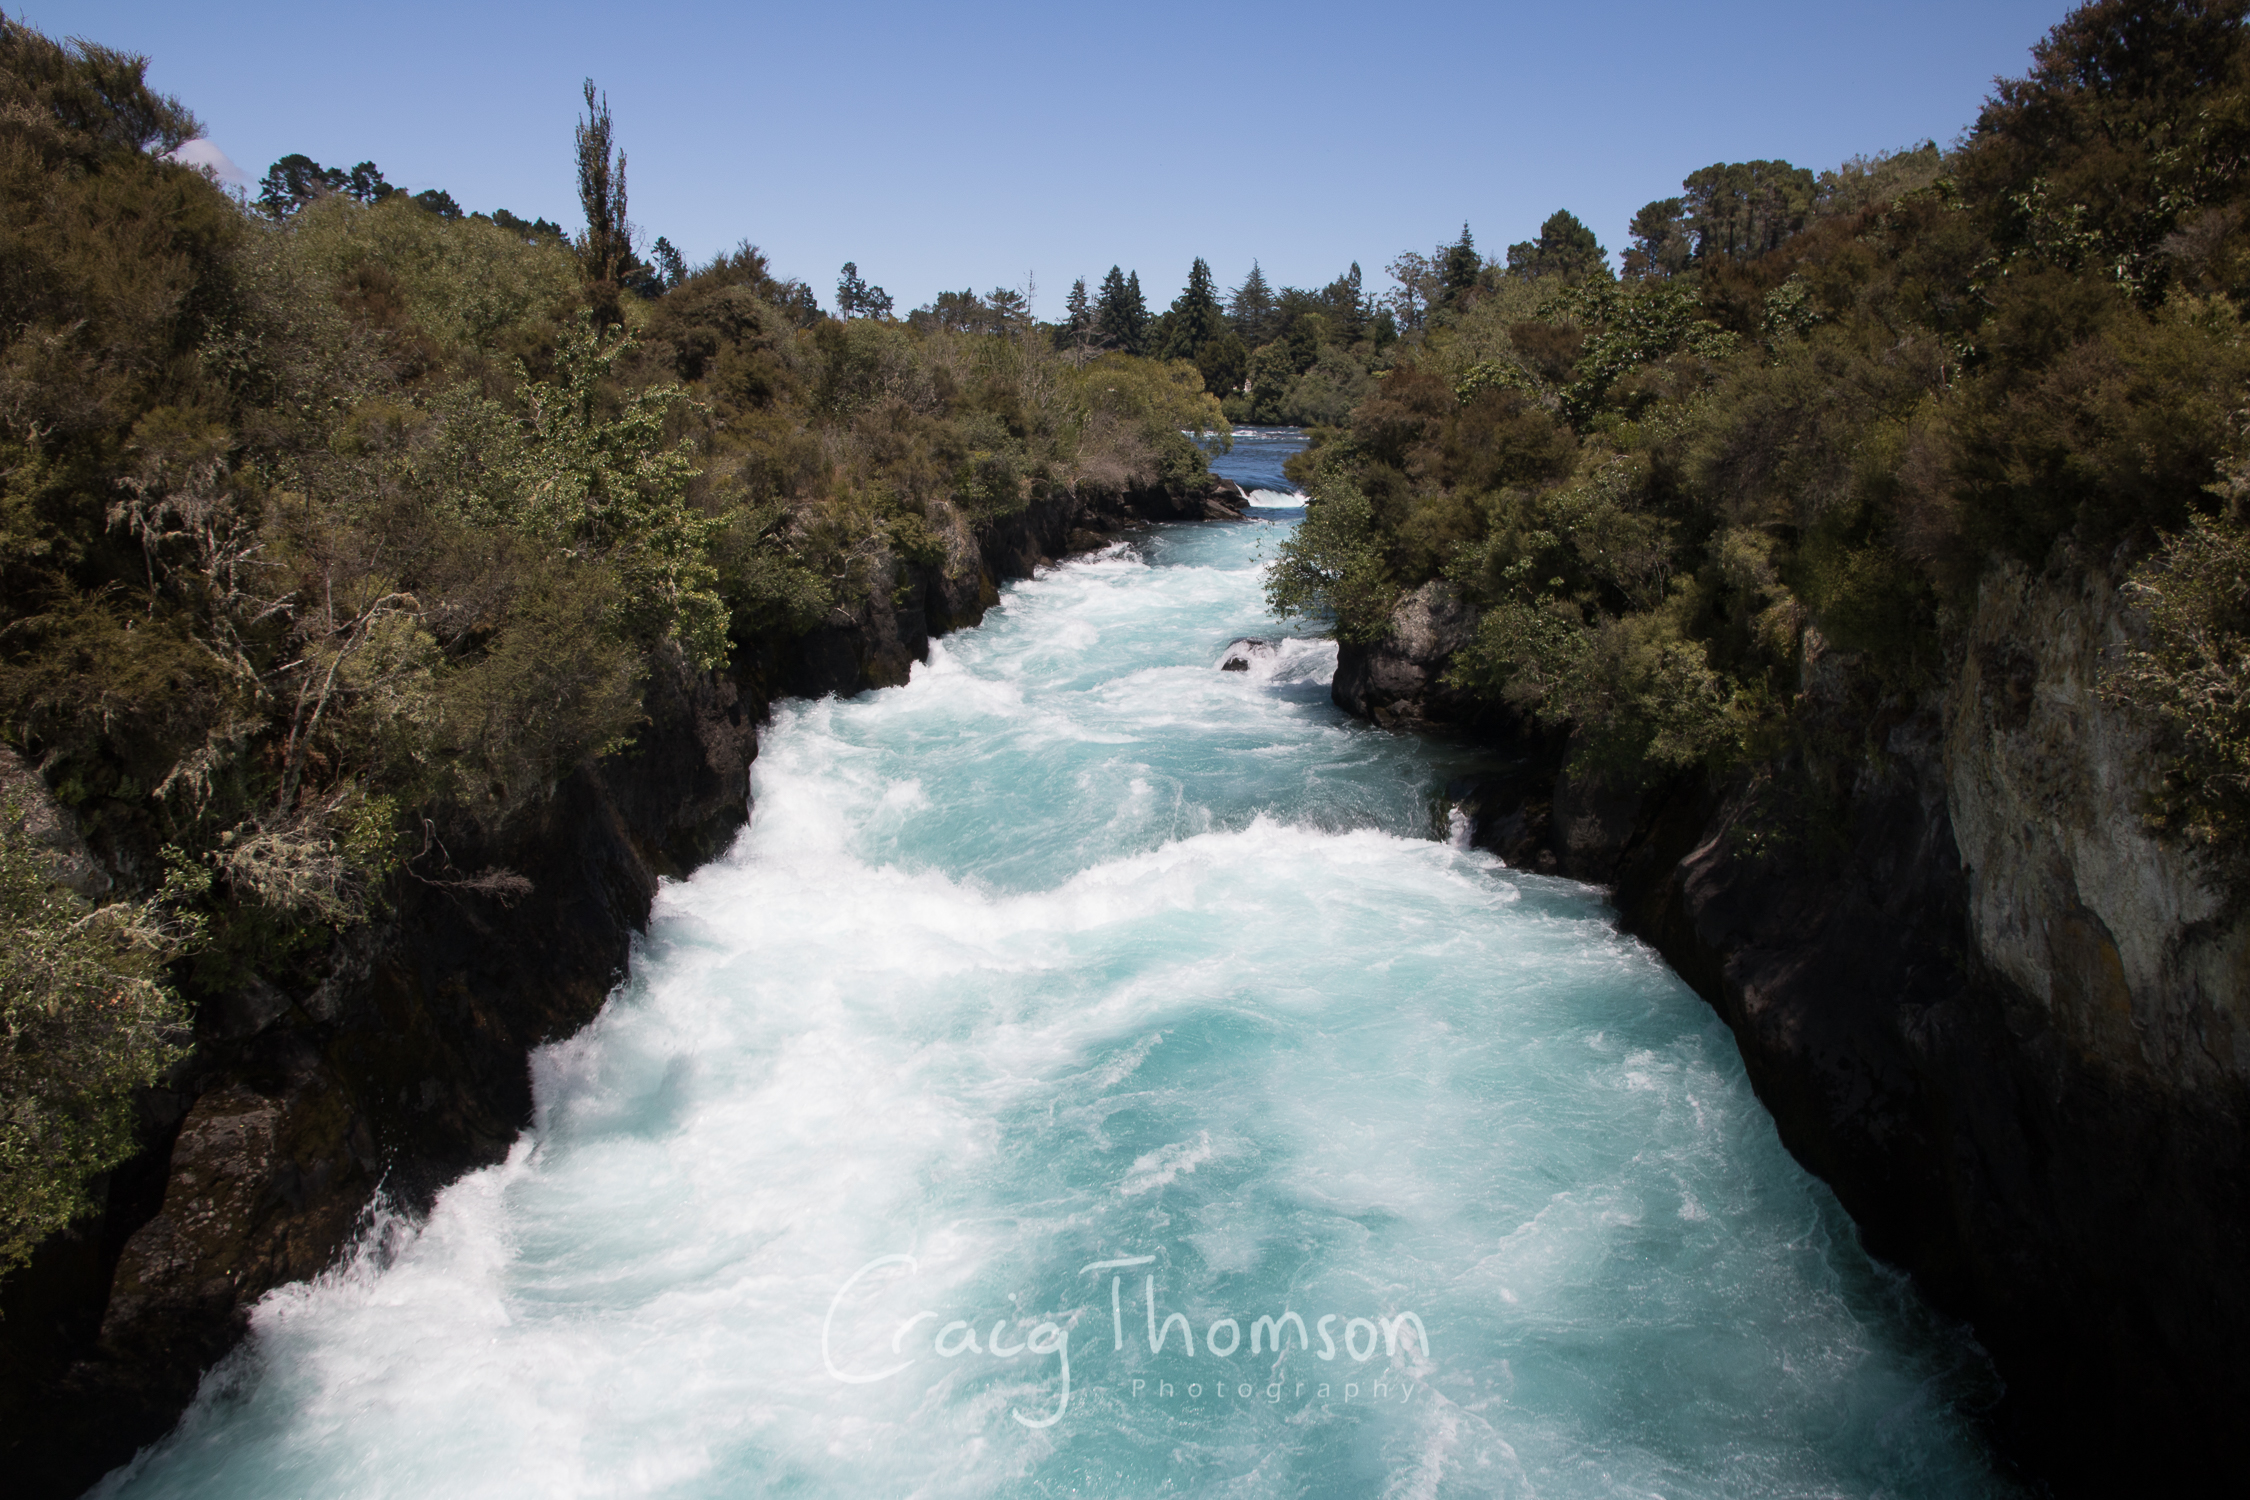
In this image from Huka Falls, near Taupo, NZ, I was trying to capture the ferocity of the river as it thundered down towards the falls. However, since there is so much white water in the original image it appears washed out. In post-processing, I brought the whites down to bring out the actual colour of the water to make it appear more natural.
Similarly to the Huka Falls image, the sky in this picture is very washed out and bright, but because this image was captured in RAW, all the data of the blue sky that really existed on that day, is still there and I was able to bring it back out during the editing process. This is also a great example of how in RAW files, shadows are brightened up a fair bit, but they can be brought back down to accentuate the lighting effects of the sun or other light source.
This image of a sand dune looks as if it is all one colour in the RAW file, and it is hard to distinguish much detail in the ripples. However, after editing the image, we can see that there is a wide range of dark and bright yellows along the image. Editing also brings out the shadows the ripples create creating really nice detail. You can even practically see individual sand grains in the final image, something you cannot do with the image straight out of the camera.
So how do I edit my photos? I try to not only make my photos look appealing to the eye, but I also want to try and represent the scene and the conditions as I saw it. If it was pouring with rain I want the viewer to feel as though they might get wet by processing the image so the scene looks wet and moody. Conversely, a beautiful sunset or sunrise will probably be casting some gorgeous golden light onto the subject of an image, and that is something that is really important to be edited well for me. It is also important to keep it realistic and simple, keep the green trees green and the blue waters blue. Over saturation of colours can even make pictures look otherworldly and I avoid this as much as I can. I often edit an image multiple times in different ways before I am happy with the final product. I also go back and re-edit images from a long time ago and it makes me happy to find new life in an image I thought was only ok when I first looked at it.
Editing tools can be used in many wonderful and crazy ways, especially with the emergence of Photoshop, you can cut up and change parts of photos by swapping them with other images. Didn't like the sky in your image? That's ok you can add in a new sky from a different picture. I do not do this with my images. The only Photoshop work I do, is usually to remove unwanted distractions from the image such as people or if there is dust or water droplets on the lens when the image is taken. Although, I try to avoid this as much as possible and attempt to find compositions without these distractions. Here is an example below.
This image is an example of the wonders of Photoshop at removing distractions. Usually this type of work is reserved for spots of dust or lens flare from the sun which are only small in comparison.
In summary, editing is an extremely powerful and necessary tool in the photographers arsenal. But it is only one of many. When it is done well, it can make good images great, but it cannot turn ok images into amazing ones. Minimal editing is the best editing, getting it right in camera is the most important thing. I might go into detail into my editing process one day soon if anyone is interested.

